10/27/2021
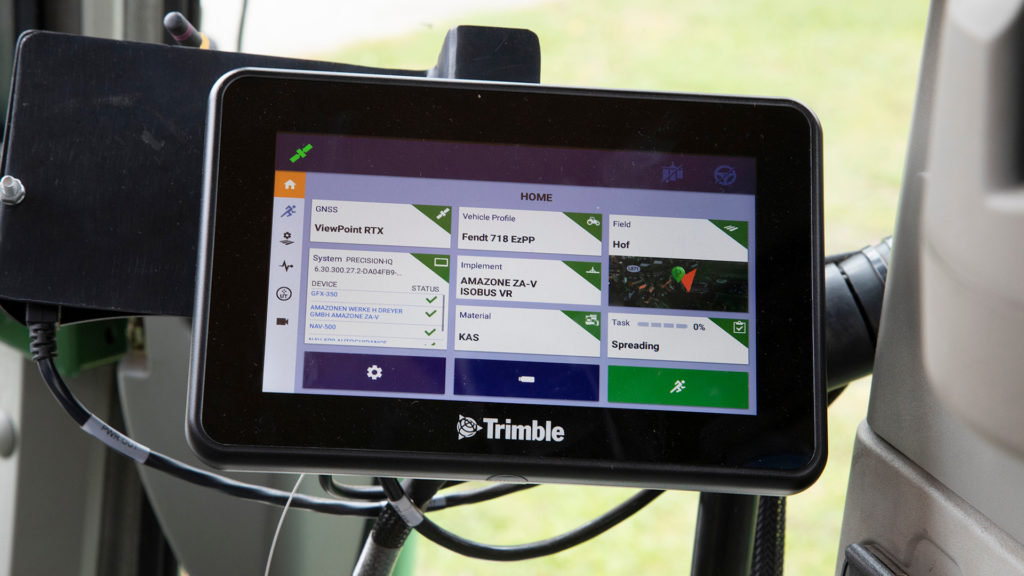
The SatAgro platform can integrate with Trimble’s cloud tools. This allows your device information to be shared with SatAgro. Thanks to the integration with Trimble Connected Farm you can send prescription maps created in SatAgro directly to your Trimble terminal and work comfortably with the information available on both platforms.
The integration of SatAgro with Trimble’s cloud services enables you to:
- use the information about your devices to export prescription maps created on our platform to your Trimble account, or directly to one of your terminals;
- import and export your fields from Trimble to/from SatAgro;
- integrate as-applied maps into your SatAgro account.
Sending prescription maps to Trimble
To upload our variable rate prescription maps to your Trimble account, simply select one of the Trimble terminals available in the Terminal field when creating a fertilization or crop protection treatment.
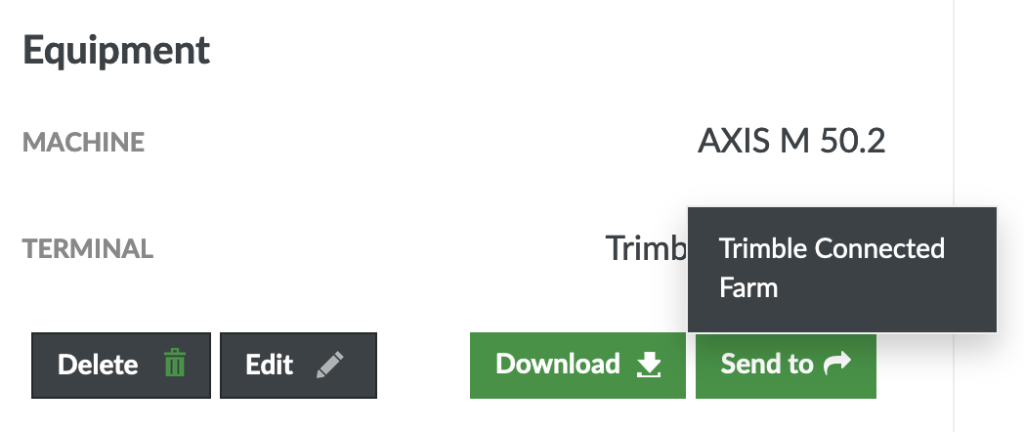
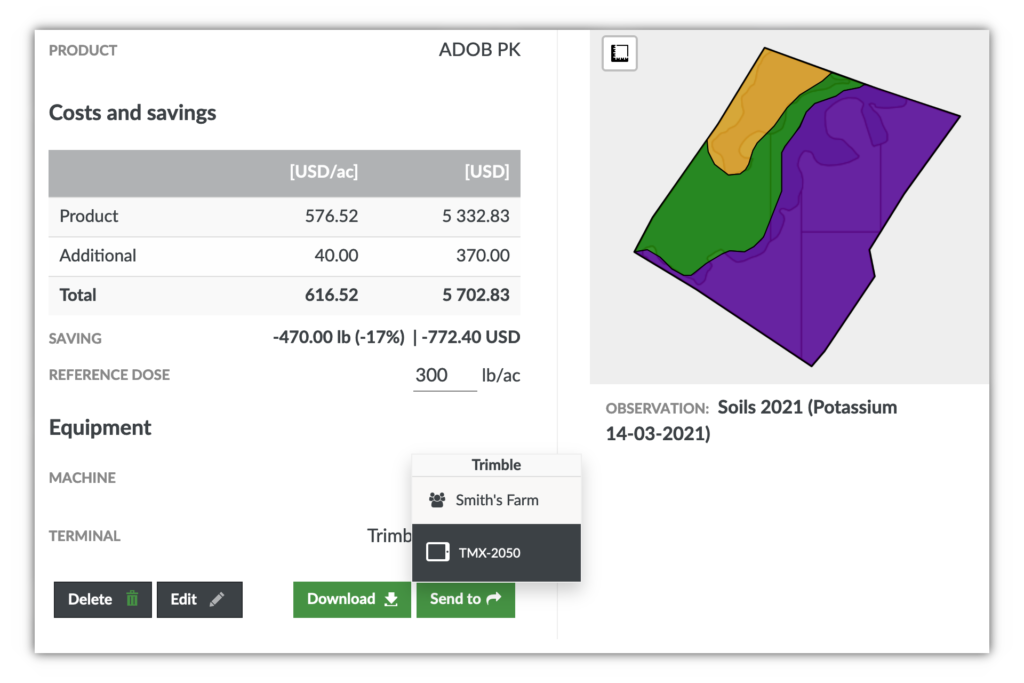
After creating a treatment, you will find a “Send to” button at the bottom of the module. When you click on it, the “Trimble Connected Farm” option will appear as on the attached image.
Authorization proces
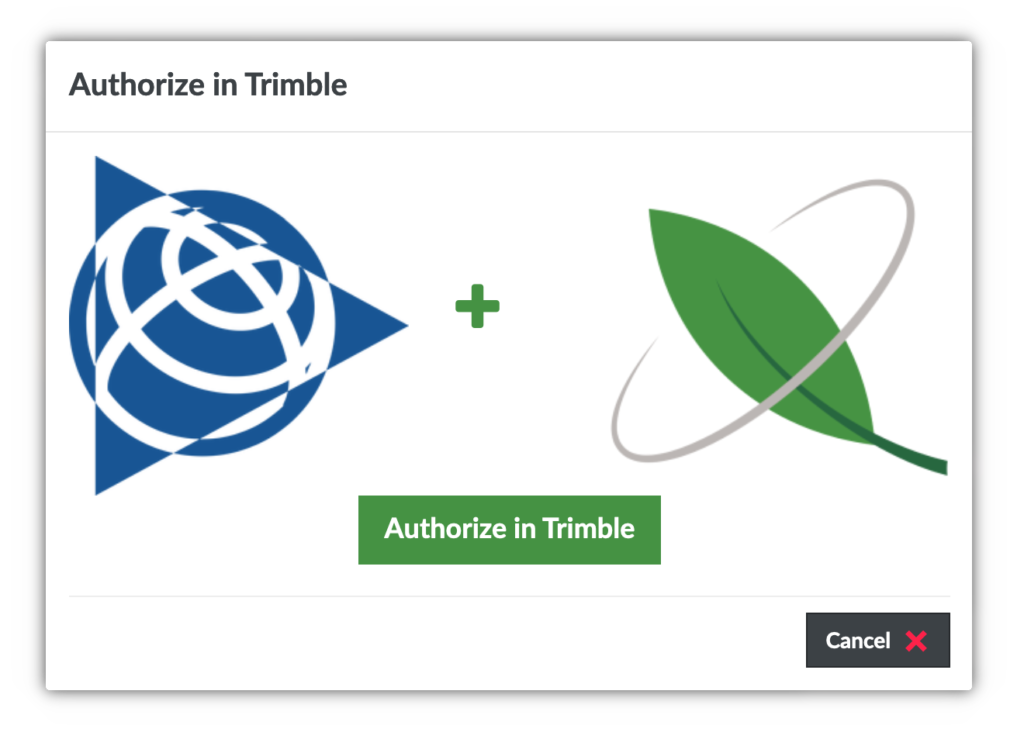
If this is the first time you want to send your maps to Trimble, or you haven’t used this option for a while, when you click on the “Trimble Connected Farm” button, a popup will appear indicating authorization process start. When it is complete, SatAgro will access your Trimble terminal data. This allows you to send application maps directly to a specific terminal or to your organization without using a USB stick.
To start the process, simply click on the “Authorize in Trimble” button and you will be taken to the Trimble login page. There you will need to log in using your Trimble Ag username and password.
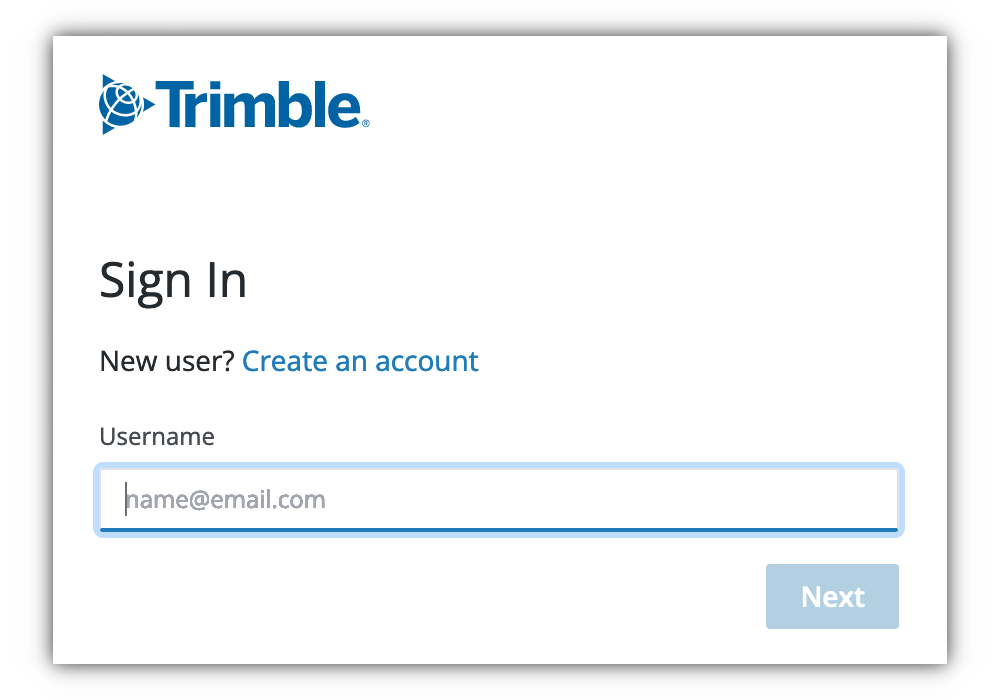
The authorization process consists of several steps in which you must log into your Trimble Ag Software account and approve the integration of your organization’s data with SatAgro.
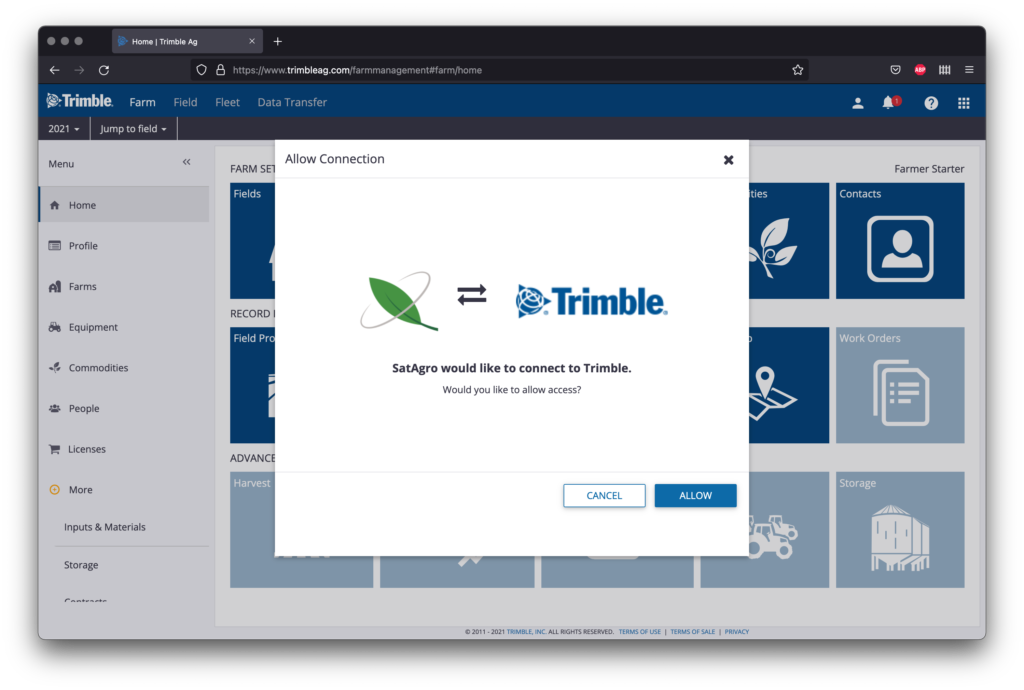
After logging into Trimble, you will see a connection notice where you just need to Allow the connection between SatAgro and Trimble in the popup that appears as soon as you enter your account, as shown in the image below.
The final step in the authorization process is to assign permissions to SatAgro to access your organization’s data. As you will usually only have one organization, simply select it from the list and click Save. This step is only necessary if you are authorizing SatAgro for the first time. Once the whole process is complete you will be sent back to the SatAgro platform.

Sending prescription maps to Trimble
Once you have linked your Trimble account to SatAgro and created a treatment where you have selected one of this manufacturer’s terminals, it will be possible to upload the prescription map to the Trimble Ag platform. Now if you click on the “Send to” button at the bottom of the treatment details sheet, you will be presented with different options to send it to Trimble. You can choose to send the created maps to your Trimble account or directly to a terminal.
Displaying uploaded prescription maps in Trimble
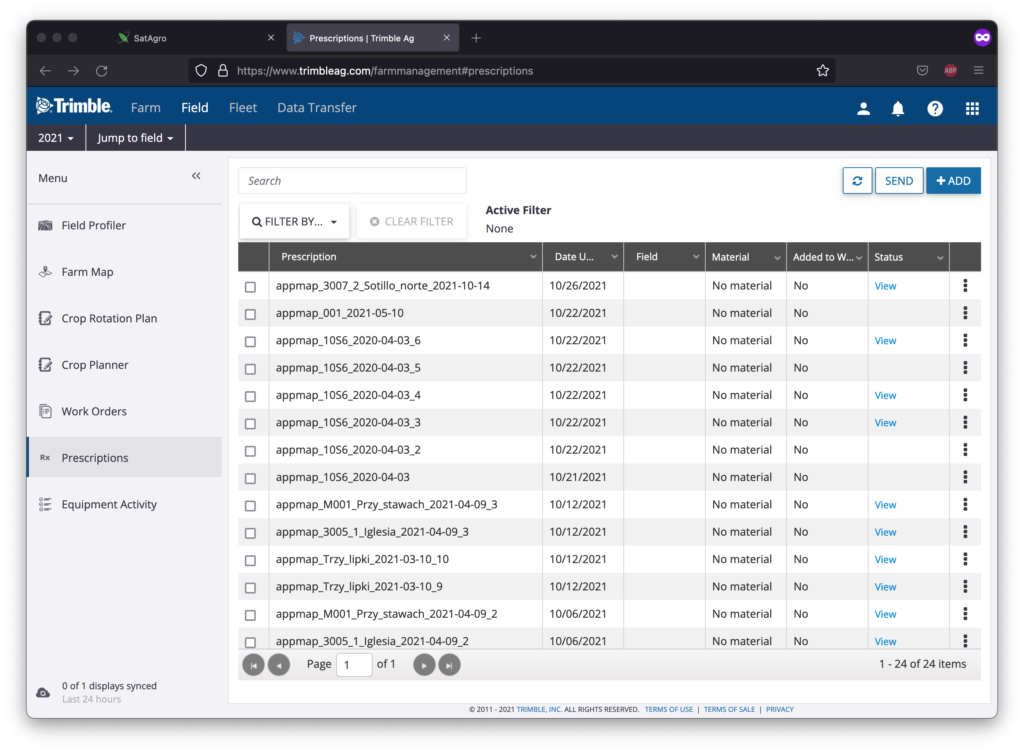
Once you have sent your prescription map, it will appear in the Prescriptions section of the Trimble Ag platform. To check it, simply log into the Trimble platform and select Field from the top menu, then Prescriptions from the side menu.
If you have sent the map directly to one of your terminals, you can access it directly from that terminal. To do this, depending on the model you have, you will need to follow different steps. You can check how to load an application map to a particular Trimble terminal through the following drop-down menu:
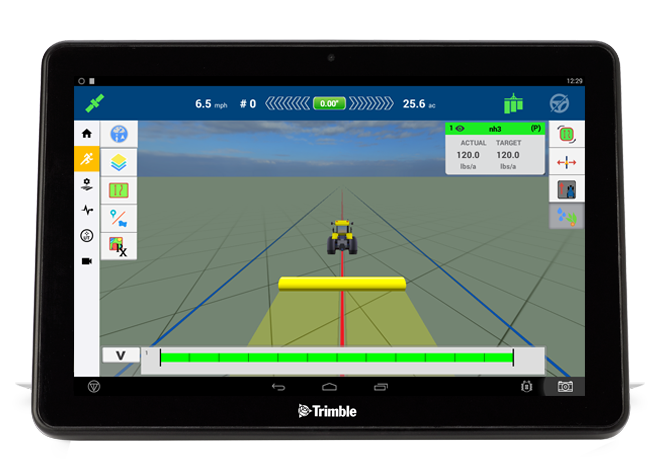
Variable rate prescription maps created in SatAgro are fully compatible with Trimble TMX-2050 terminals. To import a prescription maps into a TMX-2050 terminal you can either download the maps from the SatAgro precision treatment creation module or send them directly to your terminal using Trimble Ag cloud solutions.
Importing prescription maps from USB
To import prescription maps from a USB stick to a TXM-2050 terminal, the USB stick must contain a strictly defined file structure. To receive the data correctly prepared remember to specify the terminal model when creating the prescription map. When the map is ready just click on “Download > terminal format” in the SatAgro precision treatment creation module.
To avoid difficulties, it is best to use an empty USB 2.0 stick on which you can copy the folder that is created after unzipping the file downloaded from the SatAgro platform. After copying this folder from your computer to the USB stick continue with the following instructions:
- Insert the USB into the USB port of the TMX-2050 terminal.
- Touch the bottom right corner of the screen.
- A list of different notifications will appear.
- Click on the USB icon

- The terminal will display the USB options menu, among which you will have the File transfer option.
- Press on the icon
 to transfer the files from the USB memory stick to the terminal.
After this step the prescription maps should be already imported in your Trimble and everything should now be ready for you to work with the maps on your terminal.
Use of prescription maps in a TXM-2050 terminal
Whether you have loaded the maps from a USB stick or the maps have been transferred via the SatAgro integration with Trimble to use the prescription map on a TMX-2050 terminal, it is necessary:
- adjust and confiture the parameters of the equipment (spreader, sprayer, etc.) controlled by the terminal,
- select the field in which you will carry out the treatment,
- assign the prescription map to the field.
Prescription map configuration
Before using a prescription map to treat your field, it is necessary to adjust its parameters. To do so, follow the steps below:
- In the Run menu click on the prescription map icon
 .
. - From the list of active channels that will appear, select the one you want to use for the treatment.
- Then you should be able to select the file to be used by clicking on the option Prescription File Name.
- Select the prescription map from the available files.
- Confirm the section by pressing Next.
- Select the Column name with the dose values. For SatAgro maps select the DOSE column.
- Then select the column with the units in which the dose values are given (Column Units).
- The last necessary step is to set the behaviour of the equipment when it leaves the zones defined in the prescription map (When outside Prescription). You can select between:
- Close: the equipment will stop spreading the used product,
- Last Rate: last used value of the prescription map,
- Default Rate: default rate set manually when performing the setup.
Once all parameters have been configured, press Finish and confirm to save the prescription map data to the terminal.
Loading the map to be used on a treatment
Once you are in the field to perform the precision treatment indicated on the configured map, you only need to perform the following actions to get started:
- In the Run menu it is necessary to click on the button
 to switch to variable dose control mode.
 - Then in the dose control mode, click on the icon for the dose to be set by the prescription map configured.
- To return to manual dose mode, press the prescription map icon once more.
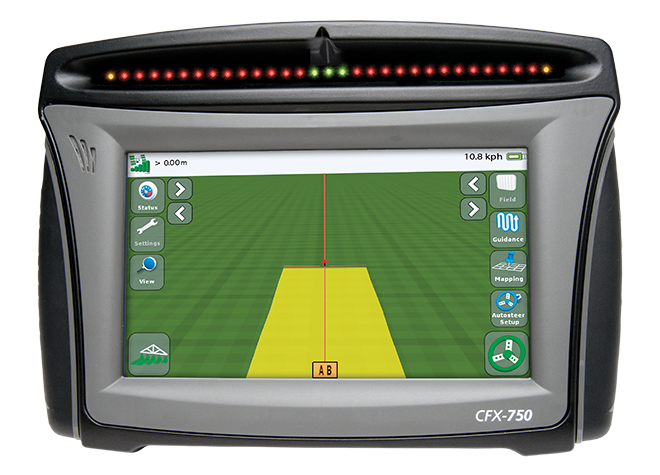
El terminal CFX-750 ofrece varias funcionalidades relacionadas con la agricultura de precisión, incluyendo el trabajo con mapas de aplicación de dosis variable creados en SatAgro. Es un dispositivo intuitivo que permite realizar las tareas agrícolas más comunes con facilidad, reduciendo el tiempo de trabajo y aumentando la productividad de la explotación.
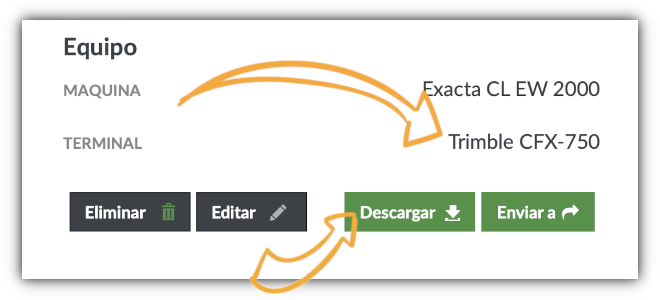
Descarga de de mapas de prescripción
Al crear un nuevo tratamiento en nuestro módulo Tratamiento de Precisión, no olvides seleccionar correctamente el terminal CFX-750. Para descargar el mapa de prescripción resultante, en la parte inferior del informe simplemente pulsa el botón “Descargar” y selecciona la opción “Formato del terminal”. Se descargará una archivo comprimido en formato .zip que después de debemos descomprimir y copiar a una memoria USB externa.
Para poder importar los mapas de prescripción en el terminal Trimble, la memoria USB debe contener una estructura de archivos estrictamente definida y ningún otro dato o mapa de prescripción antiguo. Para evitar dificultades, lo mejor es utilizar una memoria USB 2.0 vacía en la que podamos copiar solamente la carpeta creada tras descomprimir el archivo descargado.
Carga de los mapas en el terminal
Para cargar el mapa de prescripción variable descargado desde SatAgro en tu terminal Trimble CFX-750 solo tienes que seguir los siguientes pasos:
- Inserta la memoria USB en la que has copiado el mapa en la toma USB del terminal CFX-750.
- Después deberas cargar sus datos accediendo a las opciones Settings > Data > Manage data , (Ajustes > Datos > Gestionar datos) pulsamos “USB” en la vista y, a continuación, seleccionamos la opción de “Retrieve data” (Recibir datos).
- Ahora podemos seleccionar de la lista el mapa de prescripción el que queremos cargar en la memoria interna de nuestro terminal.
Uso de los mapas de prescripción del terminal
Una vez cargado el mapa en la memoria interna del terminal podremos usarlo para realizar el tratamiento de dosificación variable definido en la prescripción. Para ello es necesario seguir estos pasos:
- En la pantalla de “Guidance screen” (Pantalla de guiado) pulsamos sobre el botón de “Campo”
 , para seleccionar el capo en el que vamos a realizar el tratamiento o añadir un campo nuevo al terminal.
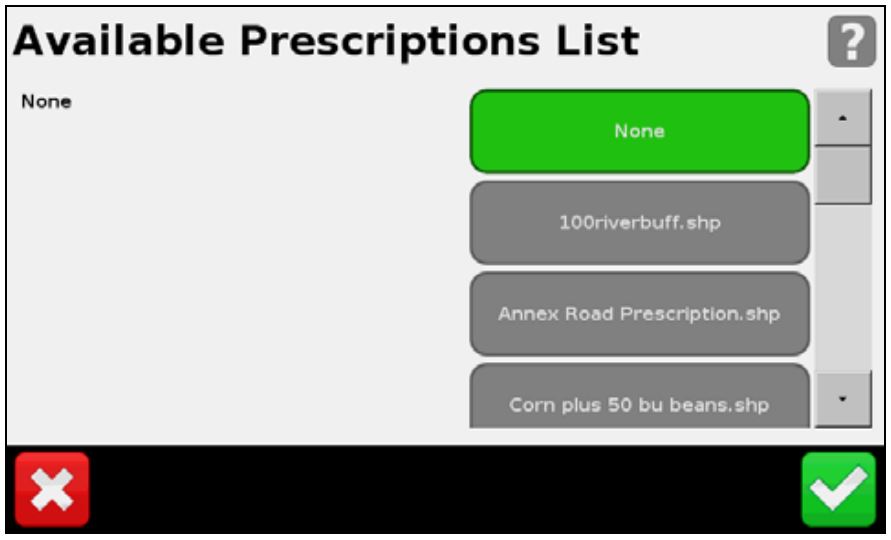
 - Una vez seleccionado el campo el CFX-750 busca en la memoria interna los archivos asociados a este presentando un listado de todos los archivos disponibles (“Available Prescriptions List”). Deberemos seleccionar el mapa que hemos cargado y pulsar sobre el botón verde de la derecha.
- En el siguiente paso, tenemos que definir una serie de parámetros del mapa de prescripción cargado (“Presciption Parameters”):
- Columna Dosis (“Rate Column”) – el nombre de la columna que contiene los valores de tasa, en el caso de los mapas de aplicación SatAgro – “Rate”.
- Unidades Dosis (“Rate Units”) – las unidades en las que hemos definido dosis del mapa. Normalmente trabajaremos con kilogramos o litros por hectárea.
- Factor de escala (“Scale factor”) – el valor por el cual se multiplicarán las dosis dadas en el mapa de prescripción. Si no diluye el abono y desea utilizar las dosis definidas en el asistente del mapa de aplicación, omita este ajuste o defínalo como “1”.
- Dosis fuera del mapa de prescripción (“Rate Outside Prescription”): la dosis que queremos aplicar fuera de los límites del mapa de aplicación. Si el mapa de aplicación cubre toda la zona en la que desea abonar lo mejor es definir el valor en “0”.
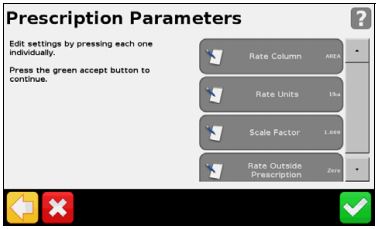
Por último, simplemente es necesario confirmar el mapa seleccionado y los valores de los parámetros introducidos pulsando el botón con la marca verde. Tras ello podrás comenzar a aplicar el mapa de prescripción variable creado en SatAgro.
Import fields from Trimble Connected Farm
If you already have your field boundaries loaded into Trimble, you don’t need to add them back into SatAgro. Thanks to SatAgro’s integration with Trimble Connected Farm, you can easily import them with a couple of clicks.
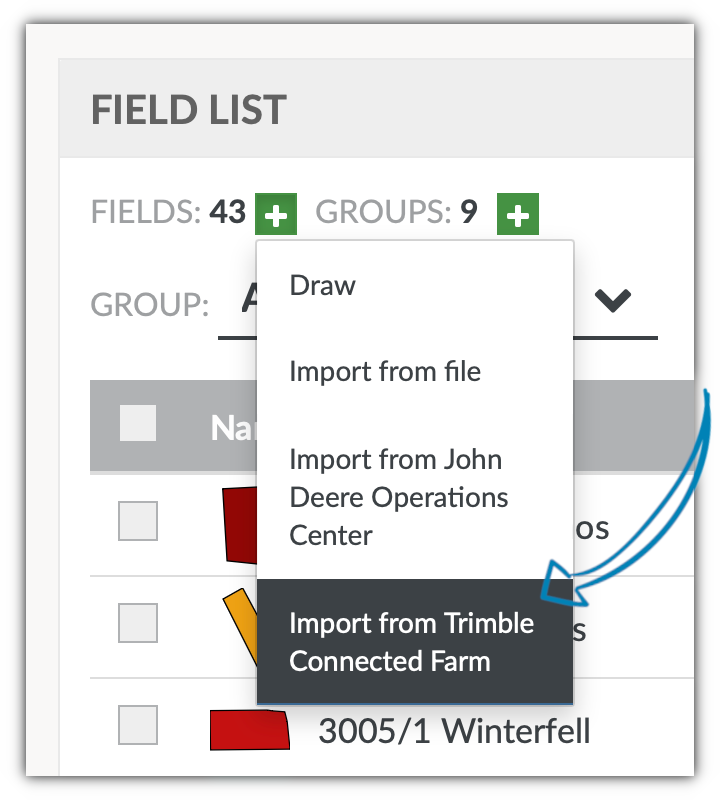
To start importing your fields, first access the section with the list of fields by selecting the top menu option Farm > Fields. Then click on the + button next to the number of fields on your farm and select the Import from Trimble Connected Farm option.
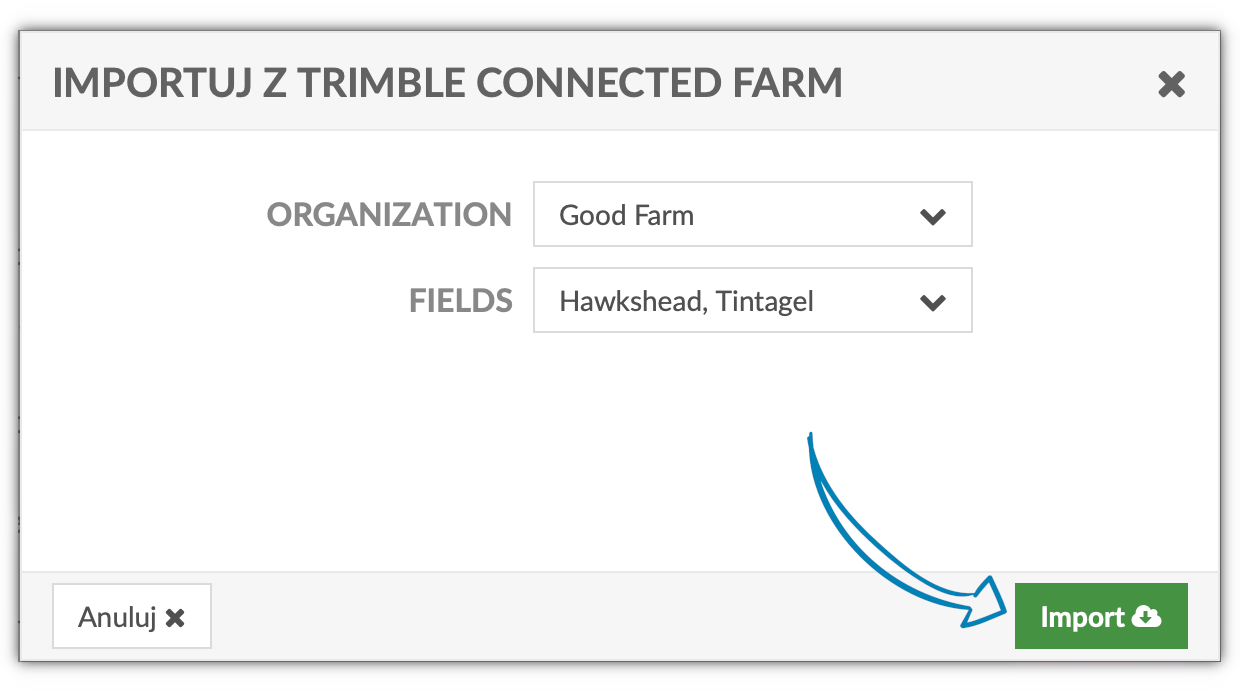
If you have completed the authorization process, the field import tool will appear where you can select the fields you want to add to your SatAgro account. You can select as many fields as you want from a given Organisation, although you must take into consideration the limit of available surface in your account.
Once the fields have been selected, to start the import process you only have to click on the Import button and the process of loading the fields will start.
 Platforma